Publishing to Connect using GitHub Actions
Overview of Deploying to Connect
Connect hosts a variety of data artifacts with different development life-cycles. Whenever you want to publish one of these data artifacts to Connect, there are three paths you can follow:
- Hands-on deployment process from within a development environment
- Git-backed deployment within Connect
- Programmatic deployment
This page focuses on the third option, programmatic deployment using GitHub Actions as a continuous integration and deployment pipeline. Continuous integration (CI) is the practice of automating the integration of code changes. That automation can entail running different tests or other pre-deployment activities. Continuous deployment (CD) is the practice of automating the deployment of code changes to a test or production environment. Many popular code hosting providers and independent software companies offer CI and CD services. These pipelines allow you to build for specific operating systems/environments, integrate tests and publish to Connect from private repositories without a service account.
The following section examines the deployment of a Shiny application to Connect using GitHub Actions.
GitHub Actions Example
Demo GitHub Repository: https://github.com/sol-eng/shiny-app-demo-cicd-github-actions
The first thing to consider is how to manage the R packages as dependencies within the CI/CD service. One solution is to do a one-by-one installation of every package the Shiny app uses, however, this gets cumbersome as the app grows bigger. To simplify package management of the environment, it is recommended to use the renv package. This package helps reproducibility because, for all packages used by your project, it saves both the package version information and the repository location(s) where you installed the packages from so that it can restore the environment on other computers. You use renv in this deployment process to maintain consistency between the development and build environments.
Without renv:
install.packages(c(“shiny”, “jsonlite”, “ggplot2”, “stringr”))With renv:
renv::snapshot() #Development Environment
renv::restore() # CI
To learn more about renv, visit the package documentation website.
Below you can see how the files are organized in the Demo GitHub repository.
.
├── .Rbuildignore
├── .Rprofile
├── .github
│   ├── .gitignore
│   └── workflows
│       └── test-and-connect-publish.yaml
├── .gitignore
├── README.md
├── app.R
├── manifest.json
└── renv
│   ├── .gitignore
│   ├── activate.R
├── renv.lock
├── shiny-app-demo-cicd-github-actions.Rproj
└── tests
    ├── testthat
    │   ├── _snaps
    │   │   └── mac-4.2
    │   │       └── shinytest2
    │   │           ├── learn_shinytest2-001.json
    │   │           ├── learn_shinytest2-001_.png
    │   │           ├── learn_shinytest2-002.json
    │   │           ├── learn_shinytest2-002_.png
    │   │           ├── test1-001.json
    │   │           ├── test1-001_.png
    │   │           ├── test1-002.json
    │   │           ├── test1-002_.png
    │   │           ├── test2-001.json
    │   │           ├── test2-001_.png
    │   │           ├── test2-002.json
    │   │           └── test2-002_.png
    │   ├── setup.R
    │   └── test-shinytest2.R
    └── testthat.R

8 directories, 27 files
The Shiny application is contained in app.R.
The main file of interest is .github/workflows/test-and-connect-publish.yaml. This action is set up to run on any push or pull request to main. First, it sets up the proper environment, including restoring the renv environment, and runs the application tests using shinytest2. Second, it publishes the Shiny application to Connect using the Connect API.
  name: test-and-connect-publish
  on:
    push:
      branches: [main]
    pull_request:
      branches: [main]

  jobs:
    test-and-connect-publish:
      runs-on: ubuntu-24.04
      steps:
        - uses: actions/checkout@v2

        - uses: r-lib/actions/setup-pandoc@v2

        - uses: r-lib/actions/setup-r@v2
          with:
            r-version: 4.5.1
            use-public-rspm: true

        - uses: r-lib/actions/setup-renv@v2

        - name: Test Shiny App
          shell: Rscript {0}
          run: |
            shinytest2::test_app()

        - name: Create manifest.json
          shell: Rscript {0}
          run: |
            rsconnect::writeManifest()

        - name: Publish Connect content
          uses: rstudio/actions/connect-publish@main
          with:
            url: ${{ secrets.CONNECT_SERVER }}
            api-key: ${{ secrets.CONNECT_API_KEY }}
            access-type: logged_in
            dir: |
              .:/shiny-app-demo-cicd-github-actions
The rest of this article reviews the file’s contents so you understand in detail what is happening.
The beginning of test-and-connect-publish.yaml specifies the event that will trigger the Action. In this case, it is a push or a pull request to the main branch:
  name: test-and-connect-publish
  on:
    push:
      branches: [main]
    pull_request:
      branches: [main]
A GitHub Actions workflow is made up of jobs. In the code below, one job is created, test-and-connect-publish.
runs-on: specifies the operating system for the job to be run on; in this case, we are using Ubuntu 24.04.
The first three steps checkout the code and set up the R and system dependencies.
- The
actions/checkoutaction checks out the repo so the rest of the job can access it.
- The
r-lib/actions/setup-pandocaction downloads Pandoc and adds it to the PATH. If the application being tested had other system dependencies, they could be included in these steps.
- The
r-lib/actions/setup-r@v2action allows you to specify the version of R (latestcan also be specified) and provides for usage of Package Manager, which can significantly increase the speed of package installation when binaries are available. If your organization does not have Package Manager, it is recommended to use Posit’s Public Package Manager for access to binaries.
These three steps are provided by GitHub and the r-lib organization respectively. Note that because they are provided, we specify them with the uses key.
  test-app:
    runs-on: ubuntu-24.04
    steps:
      - uses: actions/checkout@v2

      - uses: r-lib/actions/setup-pandoc@v2

      - uses: r-lib/actions/setup-r@v2
        with:
          r-version: 4.5.1
          use-public-rspm: true
The next step is to restore the environment so the Shiny application testing runs with the same dependencies as in development. We install and use renv to restore the development environment. Using renv is recommended rather than manually installing packages, as mentioned at the beginning of this article.
- uses: r-lib/actions/setup-renv@v2 # use our renv.lockAfter the proper environment is set up, we can conduct tests on our application to ensure regressions were not introduced by the changes being pushed to the repository. For this, we use the package shinytest2, which runs in R and is therefore executed by Rscript.
    - name: Test App
      shell: Rscript {0}
      run: |
        shinytest2::test_app()
The last two steps in test-and-connect-publish.yaml writes a manifest.json file and publishes the Shiny application to an Connect server.
The rsconnect::writeManifest() R command creates the manifest.json file required by Connect for deploying content programmatically.
The rstudio/actions/connect-publish@main action requires several parameters. To read more about the documentation of this Action, visit the GitHub README.
url: URL of the Connect server
api-key: Connect API key, which can be acquired by clicking on your username while in Connect in the top right corner and clicking API Keys.
access-type: Can be set toall(publicly accessible),logged_in(accessible to anyone logged in to Connect), oracl(accessible to specific users and groups managed within Connect).
dir: Two parts are separated by a:, the first specifies the source of the app.R file (in this case.) and the second specifies the URL of the deployed app (in this caseshiny-app-demo-cicd-github-actions).
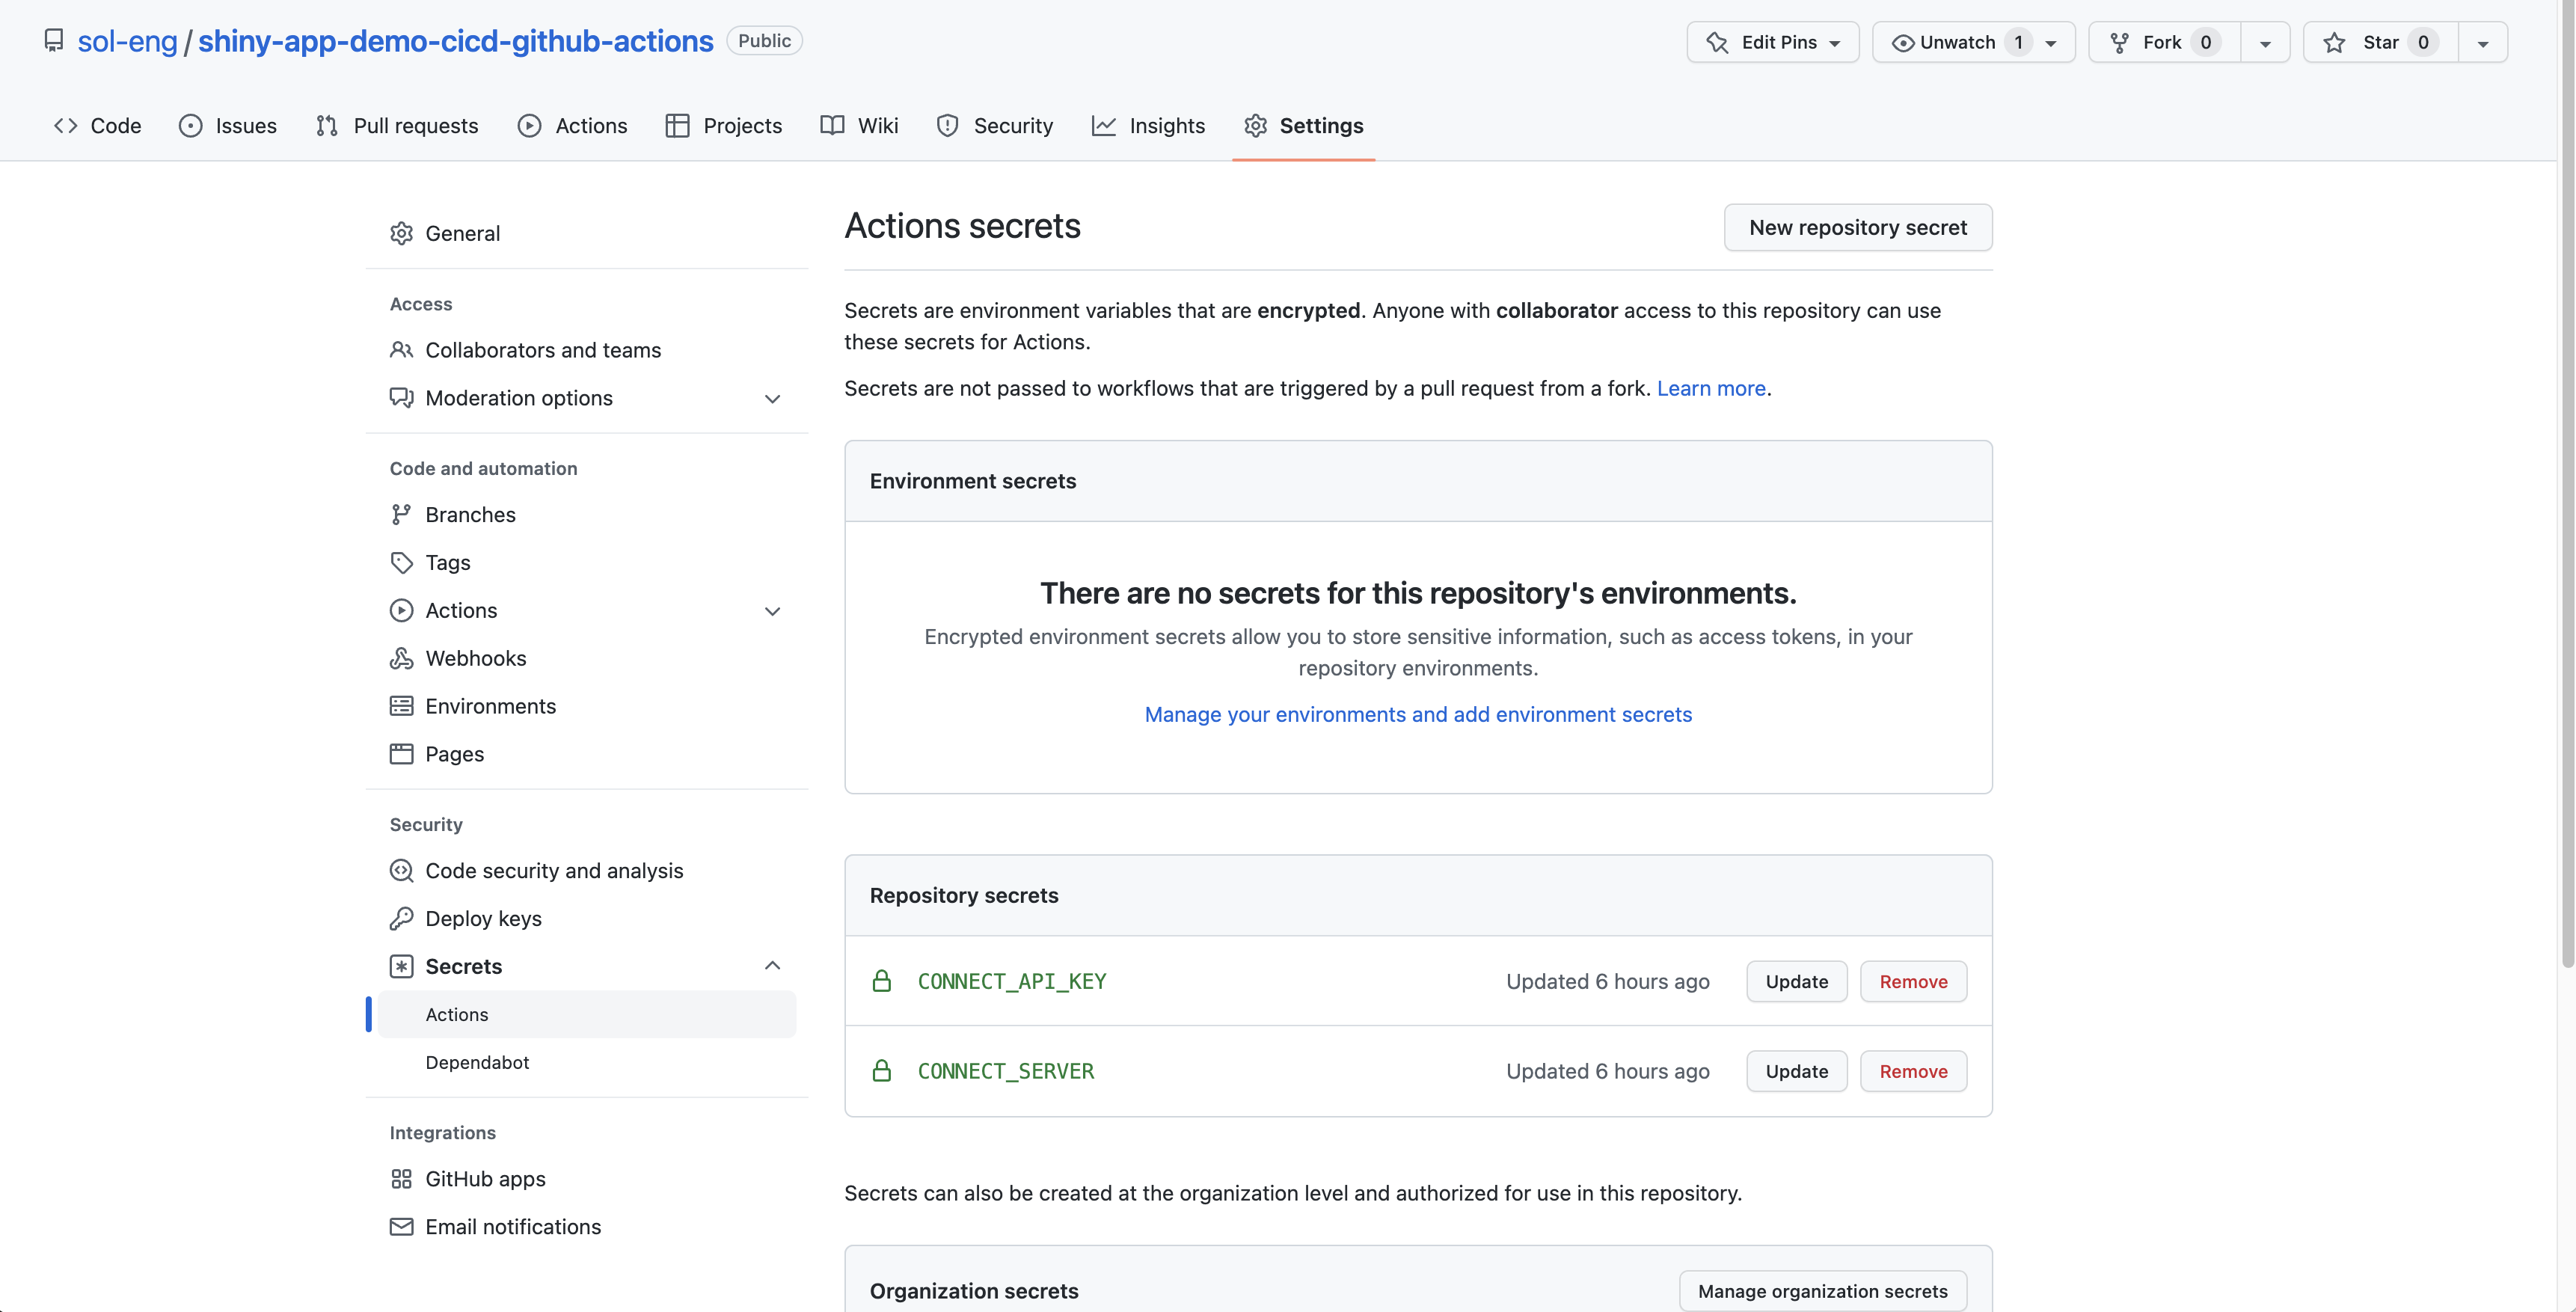
Note: Both the url and api-key should be kept and specified using encrypted secrets, which enable you to manage credentials within the Action environment. You can specify the secrets in the settings panel of the repository.
            - name: Create manifest.json
              shell: Rscript {0}
              run: |
                rsconnect::writeManifest()

            - name: Publish Connect content
              uses: rstudio/actions/connect-publish@main
              with:
                url: ${{ secrets.CONNECT_SERVER }}
                api-key: ${{ secrets.CONNECT_API_KEY }}
                access-type: logged_in
                dir: |
                  .:/shiny-app-demo-cicd-github-actions