Access Permissions Audit Report
Understanding Content Sharing
The default access settings are set up such that only the original publisher is able to view a piece of content. This means that the content will not be visible to other users on Connect until the default access settings are updated.
There are several visibility options, arranged from most open to least:
- Anyone - no login required (
all) - All users - login required (
logged_in) - Specific users or groups (
acl)
Choosing “Specific users or groups” allows the content owner to share a content item with individual named user accounts or groups registered on the Connect server.
Auditing Content with acl Settings
Content shared with specific users or groups has an associated Access Control List (acl). This report template can be used to pull detailed information such as the actual user accounts and groups that have been given access to each content item of type acl.
Step 1 - Get the report code
Step 2 - Run & Customize the report
This R Markdown report uses the /v1/content/{guid}/permissions API endpoint available in Connect 1.8.6 and later. Visit the Connect API Reference documentation for more information.
Requirements:
Create an .Renviron file to store your API key and Connect server URL.
Your Connect server URL is the same URL you use to access the Connect dashboard, minus the connect path. If you access the dashboard at https://rsc.company.com/connect/, the server URL is https://rsc.company.com/.
# ~/.Renviron
# The CONNECT_SERVER URL must have a trailing slash.
CONNECT_SERVER="https://rsc.company.com/"
CONNECT_API_KEY="mysupersecretapikey"
Restart your R session to pick up on the new environment variables.
Step 3 - Publish the report to Connect
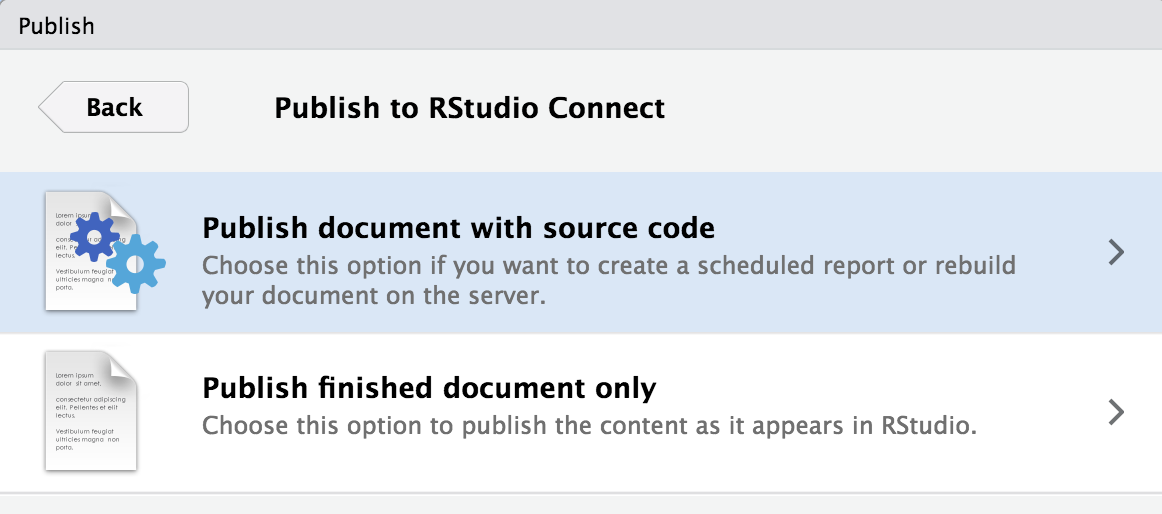
If you are push-button publishing from the RStudio IDE, we recommend the selection “Publish document with source code” so that the report can be re-executed on a schedule. 1

Step 4 (optional) - Set the report to update on a schedule
Automate a data refresh of your report by setting it up to run on a schedule. Open the Schedule content management pane to get started.
Read more about Scheduling in the Connect User Guide.
Footnotes
Connect will automatically provide these environment variables for you when you publish. If you are on an older version of Connect, or if this feature has been disabled by your admin, you should reference https://docs.posit.co/connect/user/api-keys/ for how to create an API key and https://docs.posit.co/connect/user/content-settings/#content-vars for how to input environment variables into the Vars pane of Connect.↩︎